|
<< Click to Display Table of Contents >> Multiple Users via Modem - Setup |
  
|
|
<< Click to Display Table of Contents >> Multiple Users via Modem - Setup |
|
There are 6 steps to follow:
On the Local:
1. When developing a SpecView Project which is intended to be accessed by SpecView Remote it is very useful to put all of these SpecView pre-defined Variables on to an accessible screen (GDW):
SpecView.Date
SpecView.Time
SpecView.GoodComms
SpecView.CommsErrors
SpecView.CommsErrorCode
SpecView.CommsErrorItem
SpecView.CommsErrorDescription
Then if the Remote computer isn't seeing the expected values on the instruments then it is easy to check if there's a problem with the SpecView Local's instrument communications.
2. In either Edit or Runtime mode: Choose the Preferences menu item from the File Menu and click the Remote tab. Check the appropriate box to enable the Modem:
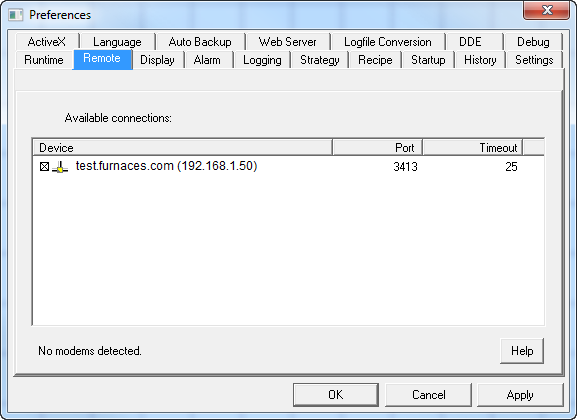
Click the Timeout to change it. The timeout for Modems is the the time before redialing, This is set by default to 50 seconds because many modems require some time to clear-down and therefore a rapid redial will not succeed, so we recommend caution before changing this.
3. In Runtime mode: Choose the 'User Setup' menu item from the Remotes menu and define some User ID(s) with appropriate Levels.
4. Display the 'Remote Users Attached List' which is displayed by choosing 'View Connected Users' from the Remotes menu. This will provide information about the connection status.
On the Remote:
1. At startup: Click the [Remote] button on the 'Projects Found' box which is displayed at startup. Click [New…], then on the Edit Connection dialog give the connection a name, check the Modem checkbox and fill in the fields as appropriate.
The 'Reconnect on fail' checkbox will automatically reconnect & go online if the line is dropped.
Entering a Username & Password will mean that these will automatically be filled in on connection. Ensure these are also setup on the Local.
Click [Save]
2. Click [Connect] to make the connection.