|
<< Click to Display Table of Contents >> Setting up SwithMail (GUI) to send an Email from SpecView |
  
|
|
<< Click to Display Table of Contents >> Setting up SwithMail (GUI) to send an Email from SpecView |
|
This section will outline how to set up SwithMail using its GUI to enable SpecView to send an Email.
If sending from a company Email address, the login credentials, server name, and port number for the company's mail server will be required.
If sending from a personal Gmail account, ensure two-factor authentication and an App Password has been setup.
For more information, please read SMTP Server Requires Secure Connection Error.
| 1. | From the SV3 folder, open SwithMail.exe. |

| 2. | Click on Configure Settings with GUI. |

| 3. | If a previously saved xml file is available, then modifying the settings within the xml file will be more efficient. |
Click on Yes when asked to load last saved settings.
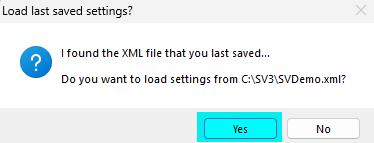
If no xml file was previously stored, continue on to Step 4.
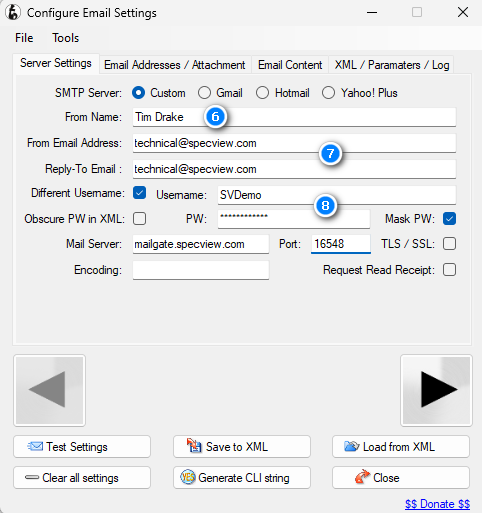
| 4. | Click on the Server Settings tab. |
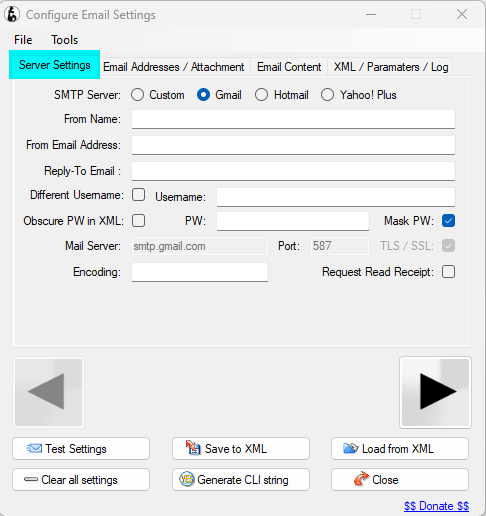
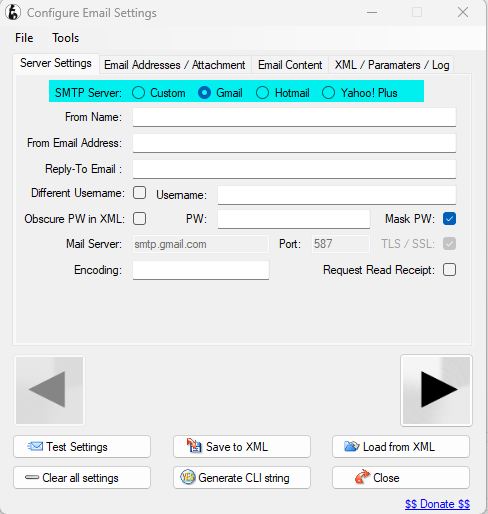
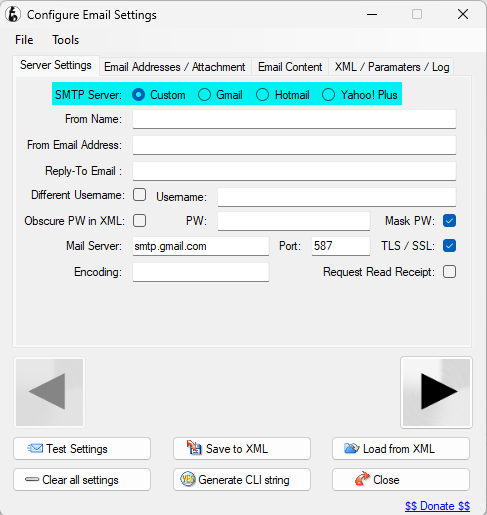
| 5. | For the SMTP Server setting, click on the circle beside the appropriate Email server being used. |
For example, if you using a personal Gmail account, then click on and fill in the circle beside Gmail.
If using a company email, click on the circle beside Custom.
| 6. | Enter a sender name in the From Name field. |
| 7. | Enter a Sender Email address in the From Email Address and Reply-To Email fields. |
| 8. | If sending an Email from a company Email address, enter the company's mail server login credentials in the Username and PW fields. |
Enter the name of mail sever in the Mail Server field.
Enter the appropriate port number in the Port field.
If using a personal email, enter the login credentials for the personal email account in the Username and PW fields.
For personal Gmail accounts, an App Password will be required to replace the usual Gmail account password.
For more information, please read SMTP Server Requires Secure Connection Error.
| 9. | Click on Email Addresses / Attachment. |
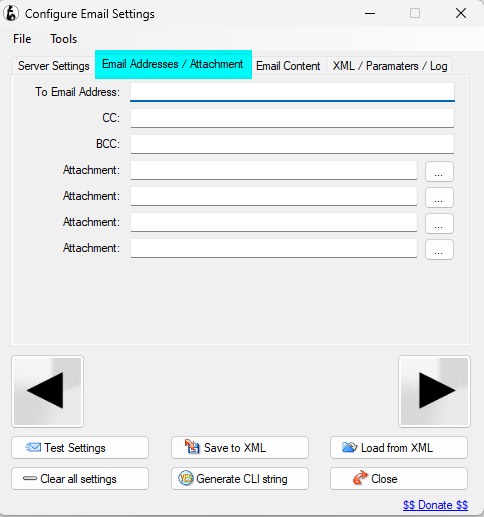
| 10. | Enter the recipient's Email address in the To Email Address field. |
For multiple recipients, separate the Email addresses with a semicolon.
To copy someone on the Email, enter their Email address in the CC field.
To copy multiple people on the Email, separate their Email addresses with a semicolon.
To send an SMS text message, enter the recipient’s email to text service Email address.
For example, to send an SMS text message to a recipient with the phone number 123-456-7890 and a carrier service of Bell Canada, enter 12345678890@txt.bellmobility.ca as the recipient Email Address.
For more details on this, please read Sending an SMS text message from SpecView.

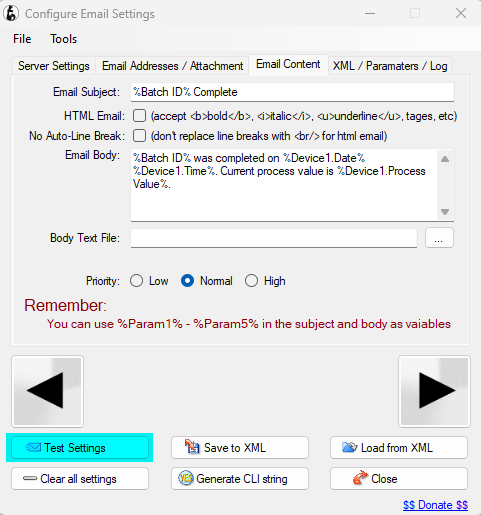
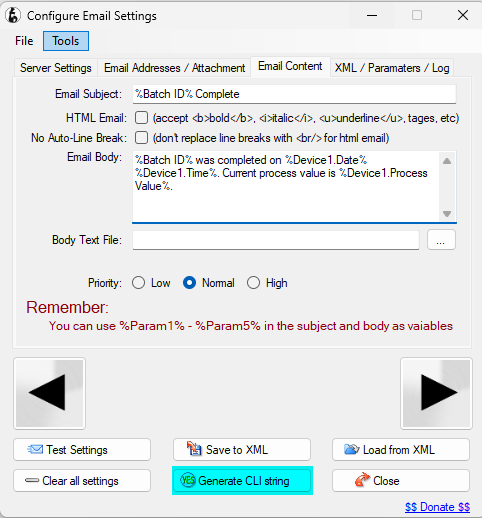
| 11. | Click on Email Content. |

| 12. | Enter the subject of the Email in the Email Subject field. |
The subject of the Email can contain parameter values.
Encapsulate the parameters in %.
For example the subject of the Email can say, "%Batch ID% (SpecView parameter for the name of the batch) Complete".
| 13. | Enter the body of the Email in the Email Body field. |
The body of the Email can contain parameter values.
Encapsulate the parameters in %.
For example, the body of the Email can say, "%Batch ID% (SpecView parameter for the name of the batch) was completed on %Device1.Date% %Device1.Time% (instrument parameters for date and time respectively). Current process value is %Device1.Process Value% (process value of device).".

| 14. | Click on Test Settings to test if the Email will be successfully sent. |
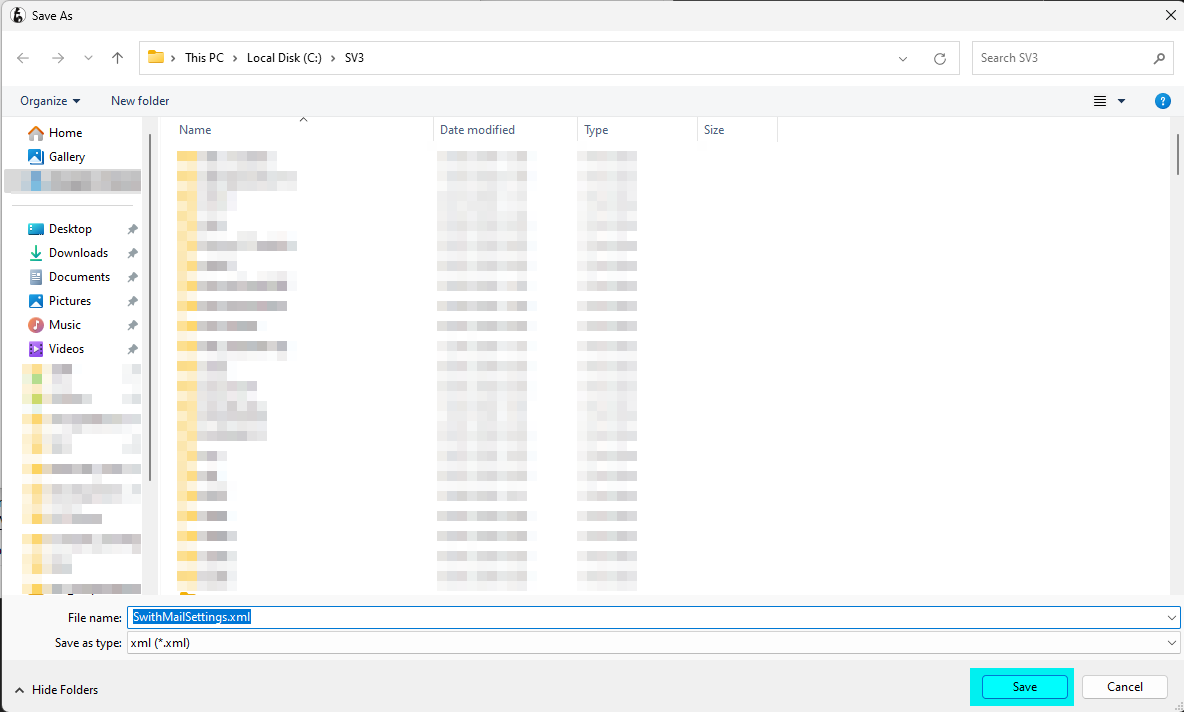
| 15. | If the Email was successfully delivered, then click on Yes to save the settings as a xml file in the SV3 folder. |
This will enable for easier editing of the settings if it is required in the future.
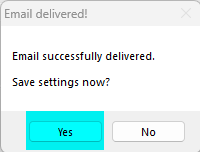
If the Email was not successfully delivered, ensure the settings have been correctly programmed.
Ensure the login credentials for the mail server are correct, and that the mail server is capable of receiving Emails from the Email address entered in Step 7.
Sometimes company mail servers will not allow for Emails originating from external Email addresses to be received.
| 16. | Click on Generate CLI string. |
| 17. | Right click on the CLI box and click on Copy String. |
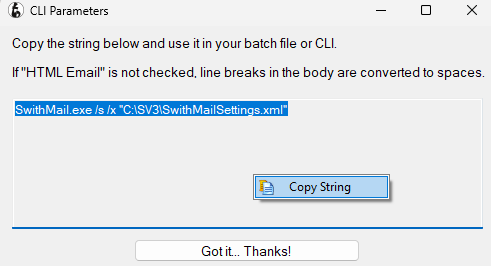
Click on Got it ... Thanks!
| 18. | Paste the CLI string in the Run field in the Button Attributes or Strategy Controller Action box after selecting SpecView: Run External Program from the Action drop down menu. |
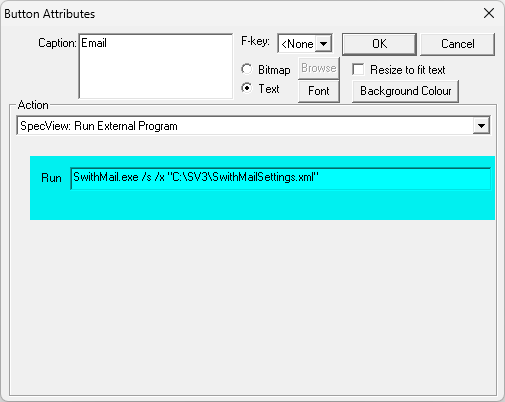

Now whenever the Button is actioned or the Strategy Event is triggered, an Email will be sent according to the settings programmed in SwithMail mentioned in Steps 1-13 above.